在Android Studio中制作血条可以通过自定义视图(Custom View)来实现。以下是一个简单的示例,展示如何使用自定义视图绘制一个简单的血条:
首先,在res/values/styles.xml文件中定义一个样式:
1 2 3 4 5 6 7 <style name ="HealthBar" > <item name ="android:layout_width" > match_parent</item > <item name ="android:layout_height" > wrap_content</item > <item name ="android:layout_margin" > 16dp</item > <item name ="android:padding" > 4dp</item > <item name ="android:background" > @drawable/health_bar_background</item > </style >
接下来,在res/drawable/health_bar_background.xml文件中定义血条的背景:
1 2 3 4 5 6 7 8 9 10 11 12 13 14 15 16 <layer-list xmlns:android ="http://schemas.android.com/apk/res/android" > <item android:id ="@android:id/background" > <shape android:shape ="rectangle" > <solid android:color ="#CCCCCC" /> <corners android:radius ="8dp" /> </shape > </item > <item android:id ="@android:id/progress" > <clip > <shape android:shape ="rectangle" > <solid android:color ="#FF0000" /> <corners android:radius ="8dp" /> </shape > </clip > </item > </layer-list >
现在,创建一个自定义视图类HealthBarView,继承自View:
1
2
3
4
5
6
7
8
9
10
11
12
13
14
15
16
17
18
19
20
21
22
23
24
25
26
27
28
29
30
31
32
33
34
35
36
37
38
39
40
import android.content.Context;import android.graphics.Canvas;import android.graphics.Paint;import android.util.AttributeSet;import android.view.View;public class HealthBarView extends View { private Paint backgroundPaint; private Paint progressPaint; private float progress; public HealthBarView (Context context, AttributeSet attrs) { super (context, attrs); init(); } private void init () { backgroundPaint = new Paint (); backgroundPaint.setColor(0xFFCCCCCC ); progressPaint = new Paint (); progressPaint.setColor(0xFFFF0000 ); } public void setProgress (float progress) { this .progress = Math.max(0 , Math.min(1 , progress)); invalidate(); } @Override protected void onDraw (Canvas canvas) { super .onDraw(canvas); canvas.drawRect(0 , 0 , getWidth(), getHeight(), backgroundPaint); float progressWidth = getWidth() * progress; canvas.drawRect(0 , 0 , progressWidth, getHeight(), progressPaint); } }
在布局文件中使用自定义的HealthBarView:
1 2 3 4 5 6 7 8 9 10 11 12 13 14 15 <RelativeLayout xmlns:android ="http://schemas.android.com/apk/res/android" xmlns:app ="http://schemas.android.com/apk/res-auto" xmlns:tools ="http://schemas.android.com/tools" android:layout_width ="match_parent" android:layout_height ="match_parent" > <com.example.yourapp.HealthBarView android:id ="@+id/healthBar" style ="@style/HealthBar" app:layout_constraintTop_toTopOf ="parent" app:layout_constraintStart_toStartOf ="parent" app:layout_constraintEnd_toEndOf ="parent" app:layout_constraintBottom_toBottomOf ="parent" /> </RelativeLayout >
在代码中获取HealthBarView的实例并设置进度:
1
2
HealthBarView healthBar = findViewById(R.id.healthBar);healthBar.setProgress(0.7f );
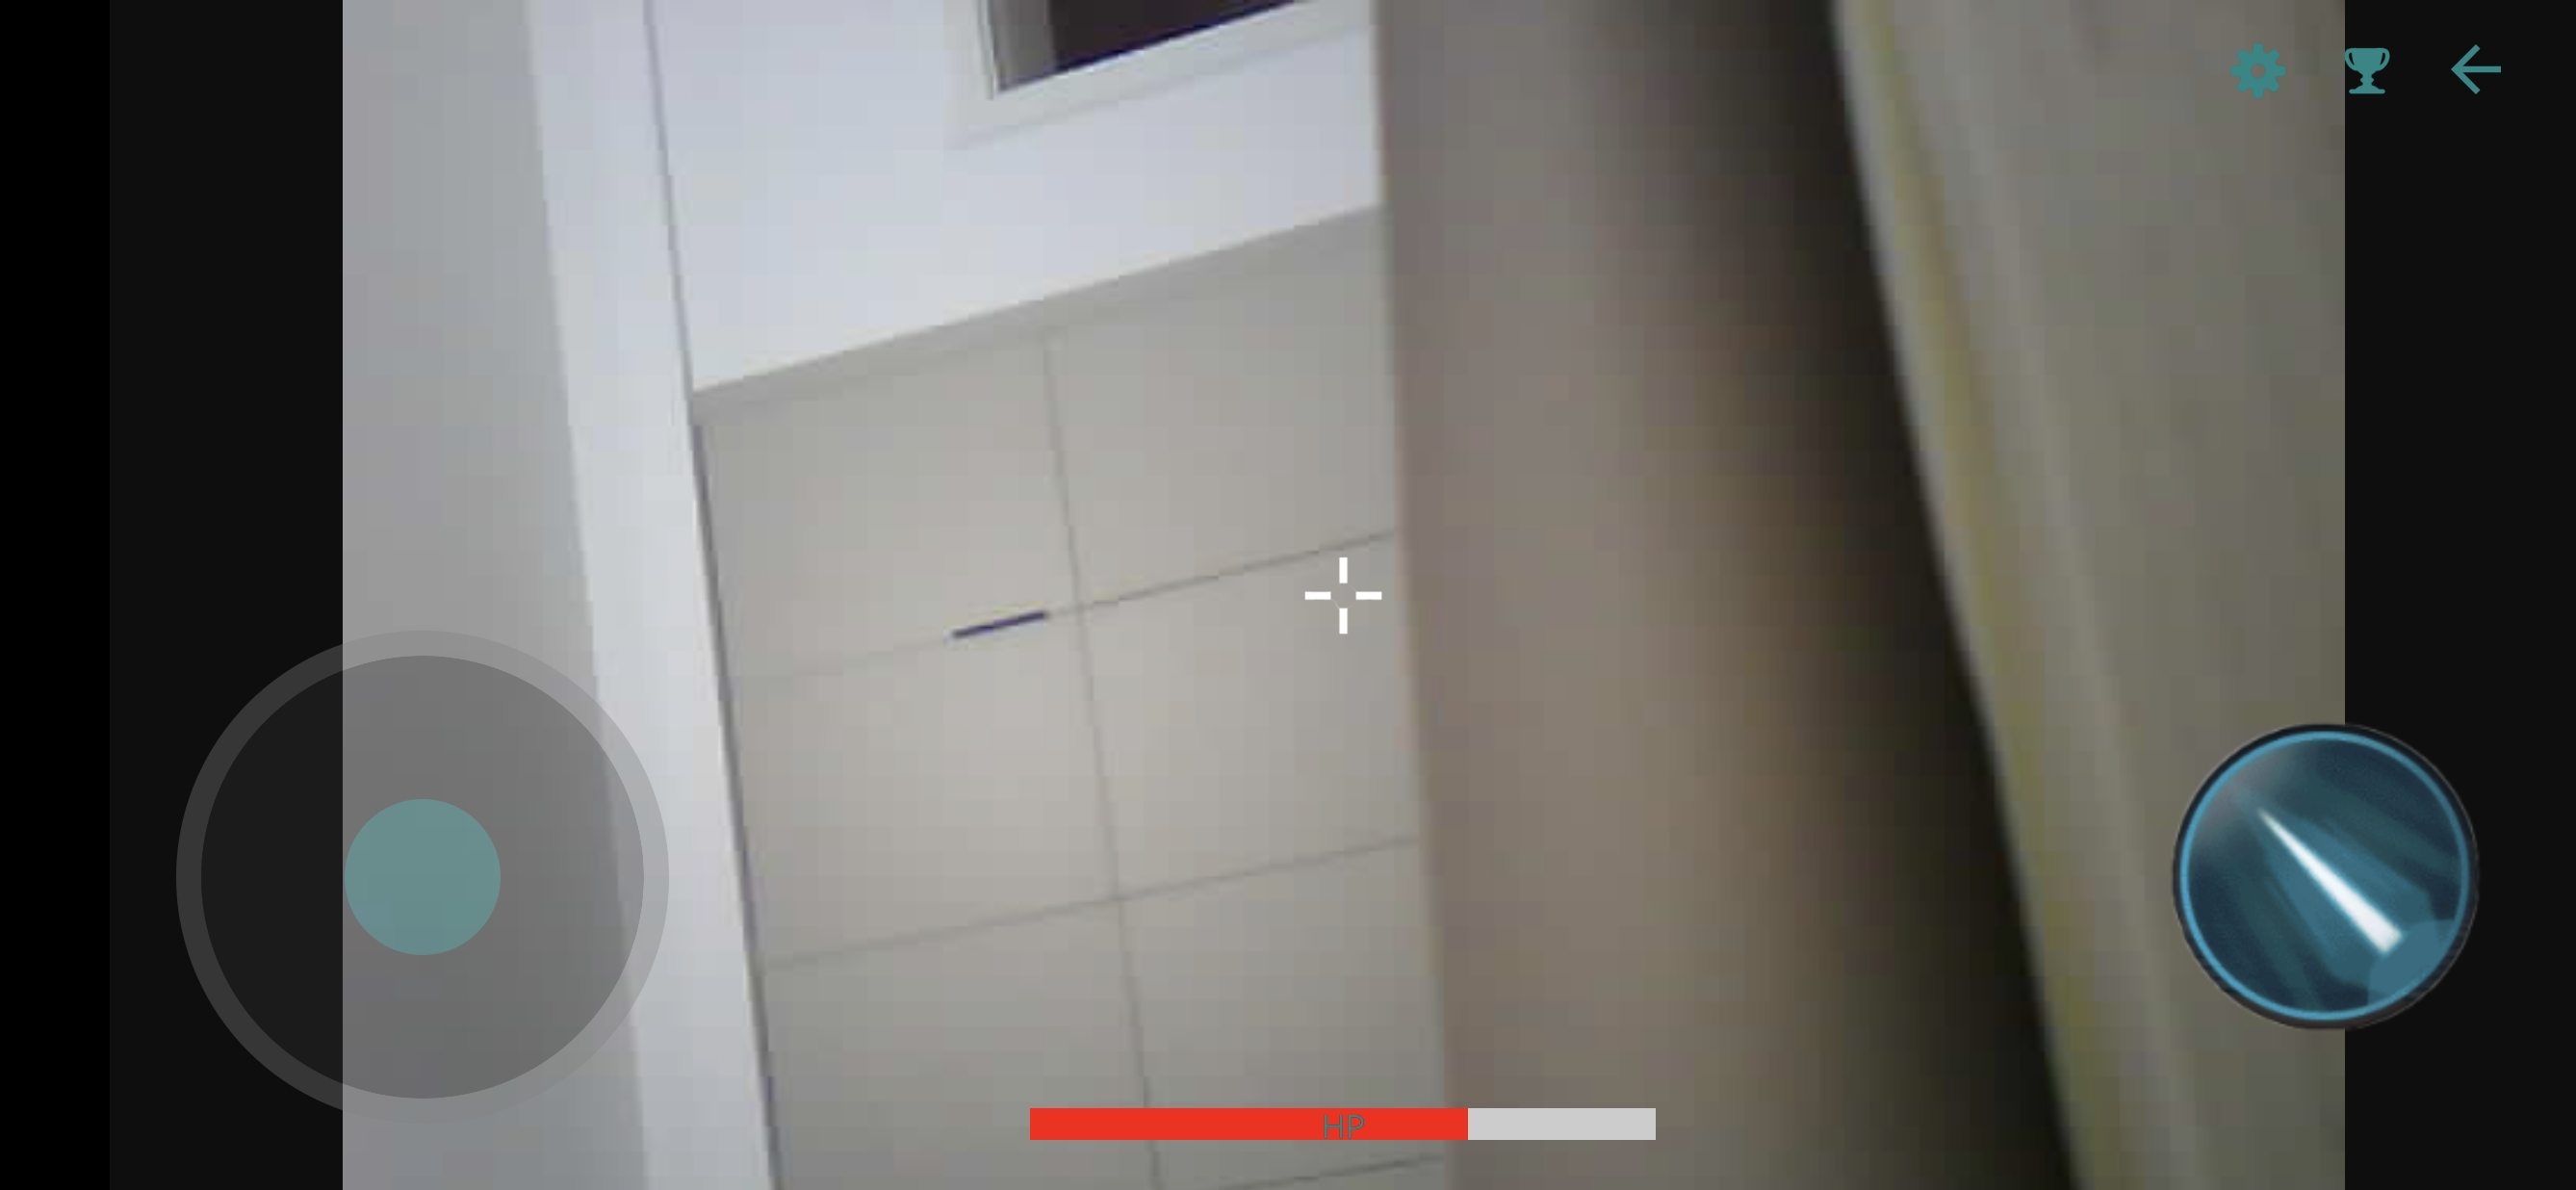
效果图